Is it time for mulch removal in your garden? Learn the signs that your mulch no longer benefits the soil and how to remove it safely. We’ll guide you through evaluating your mulch’s condition, effective removal methods, and eco-friendly disposal techniques to ensure your garden continues flourishing.
Key Takeaways
- Mulch should be evaluated for thickness, decomposition, and contamination to determine if it needs replacing, considering that excess and deficiency can negatively affect garden health.
- Mulch removal should be done carefully, using appropriate tools and techniques, primarily around delicate plants, to avoid damaging the soil structure and plant roots.
- Preparing the garden for new mulch involves cleaning up organic debris, cultivating the soil for aeration and moisture absorption, and considering soil enrichment and weed control measures before selecting the correct type of new mulch for your garden.
Understanding the Need for Mulch Removal
Mulch plays a vital role in your garden ecosystem. Organic mulches like hardwood bark, pine needles, leaves, grass clippings, or wood chips break down over time, enriching the soil with nutrients and enhancing its appearance. The decomposed wood chip mulch contributes diverse nutrients from different tree parts to the soil, affecting soil health by altering its structure and texture and providing nutrient infusions. Despite these benefits, there comes a time when old mulch needs to make way for the new.
So, how do you know when to remove the old mulch? Mulch doesn’t need to be replaced yearly, as its breakdown contributes beneficial nutrients to the soil. However, natural events such as flooding can force mulch replacement due to displacement, regardless of age. Checking the thickness of the existing mulch layer in the spring can help determine the need for new mulch. If the mulch layer is below the ideal thickness, it’s time to add a new layer. It’s all about balance – too much or too little mulch can harm your garden’s health.
Evaluating Your Mulch’s Condition
Before you start replacing your mulch, evaluating its current condition is essential. Remember, not all old mulch is bad. Mulch that still resembles its original form without noticeable decomposition and no history of causing plant disease the previous year can be reused. However, mulch decomposing into fine particles that blend with the dirt is no longer effective and should be replaced. Deciding whether to remove or reuse mulch should consider its decomposition level and overall health implications for the garden.
So, how can you tell if your mulch has broken down or is contaminated? Understanding the signs of mulch breakdown and identifying contamination are vital steps in assessing your mulch’s condition. These two aspects guide whether your mulch should be removed, treated, or can be reused. Let’s explore these two crucial aspects in more detail.
Signs of Mulch Breakdown
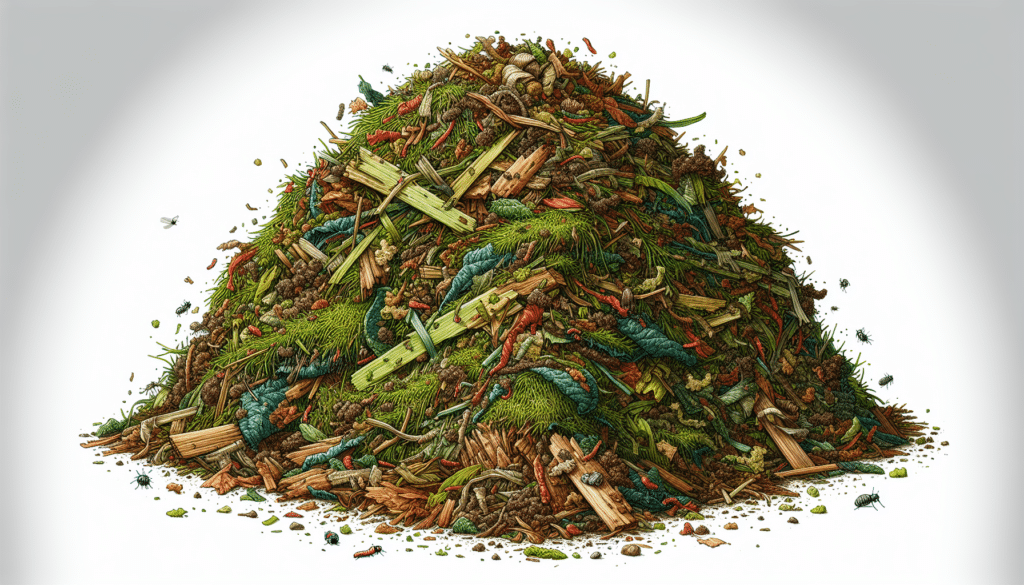
One of the key indications that your mulch has broken down is when it has decomposed into particles indistinguishable from soil, losing its insulating and protective properties. A visibly thinning layer of mulch can also indicate decomposition and integration with the underlying soil. Furthermore, color fading, particularly in dyed mulches, signifies aging and the need for mulch replacement within one to one and a half years.
Excessive decomposition of mulch can hinder the essential flow of water and air to the soil, impacting plant health. In such cases, leaving the mulch in place could do more harm than good. So, watch for these signs of mulch breakdown as they indicate that it’s time for a fresh layer of mulch to step in and perform its vital role in protecting and nourishing your garden.
Identifying Contaminated Mulch
While decomposition is a natural and beneficial process, contamination is a different story. Identifying the presence of fungi or mold is crucial for assessing the safety of mulch in your garden. Mulch that inhibits plant growth or shows visually apparent signs of fungal growth indicates contamination and potential risks to your garden ecosystem.
If your mulch has developed a fungus or mold, it should either be treated with fungicide or wholly removed to mitigate the severity of the damage to your garden. Remember, the goal of mulching is to enhance your garden’s health. If your mulch is doing the opposite, it’s time for it to go.
The Best Techniques for Mulch Removal
Once you’ve decided to remove your old mulch, the next step is to determine the best way to do it. Several techniques can make this process efficient and safe for your garden. Gently aerating the mulch and removing it a few weeks before plant shoots break ground helps the soil warm up without causing disturbance to plants. If the mulch layer becomes too thick, it’s recommended to remove only the top portion to preserve the underlying beneficial decomposed material and protect plant roots.
A power broom can make mulch removal more efficient for more extensive areas. Backpack blowers serve to clear away loose, dry mulch, while leaf vacuums can complement the removal process by collecting the debris. Lawnmowers with mulching capabilities can also be used to redistribute the mulch evenly. Mulch that hasn’t significantly decomposed should be collected with a rake or a wheelbarrow, placed on a tarp to avoid mixing with soil, and then set aside for eventual reapplication.
Armed with these techniques, you can ensure a smooth and effective process to remove mulch.
Tools for Efficient Mulch Removal

Having the right tools can make the process of mulch removal much easier and efficient. Leaf rakes and wheelbarrows are recommended tools for efficient removal of mulch. The leaf rake can be used to loosen the top layer of mulch, which can then be removed without affecting the soil structure significantly. The wheelbarrow, on the other hand, can be used to collect and transport the old mulch.
In addition to rakes and wheelbarrows, a tarp can temporarily set aside old mulch. Bedding forks also serve as handy tools for installing and removing mulch, complementing the use of rakes and wheelbarrows. Equipped with these tools, you can effectively remove old mulch without causing unnecessary damage to your garden.
Removing Mulch Around Delicate Plants
Removing mulch requires careful attention, especially when dealing with delicate plants. For such plants, like small-flowered bulbs, mulch should be removed by hand, particularly during a warm spell, to minimize plant stress and damage. Materials like pine boughs or straw, used to protect plants over winter, should be gently raked away or removed by hand, taking care not to harm the plants.
When using a rake around delicate plants, do so cautiously to avoid injuring surface roots and impeding plant growth. Also, avoid using tillers or similar tools near woody plants, as they can entangle and damage stems and root structures. Taking these precautions ensures that your garden remains healthy and vibrant even after mulch removal.
Disposal Options for Old Mulch
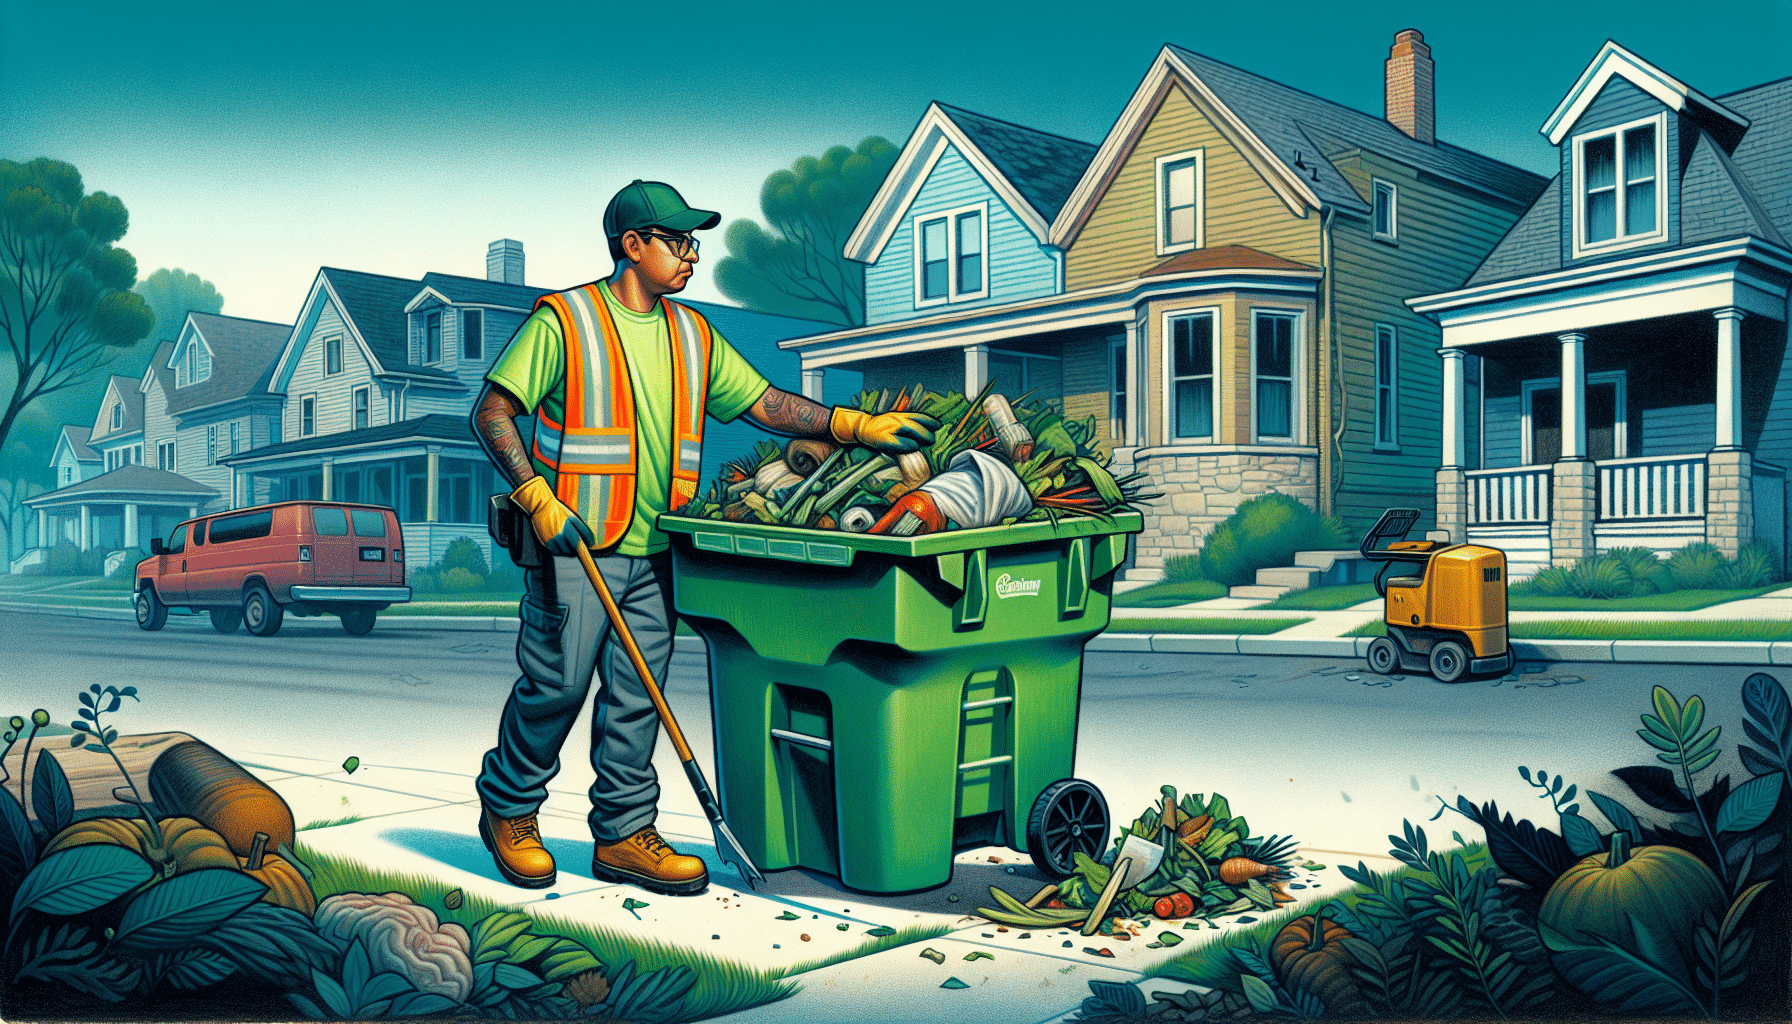
After removing old mulch, the question arises – what do you do with it? There are several disposal options, each with its own merits. For mulch treated with chemicals or dyes, contacting the local municipality is necessary to learn the proper disposal guidelines. The responsible disposal of old mulch is good for the environment and prevents potential harm to your garden and other natural spaces.
However, not all old mulch needs to be thrown away. Some can be repurposed, while others require a trip to your local waste management facility. Let’s explore these options in more detail.
Composting Decomposed Mulch
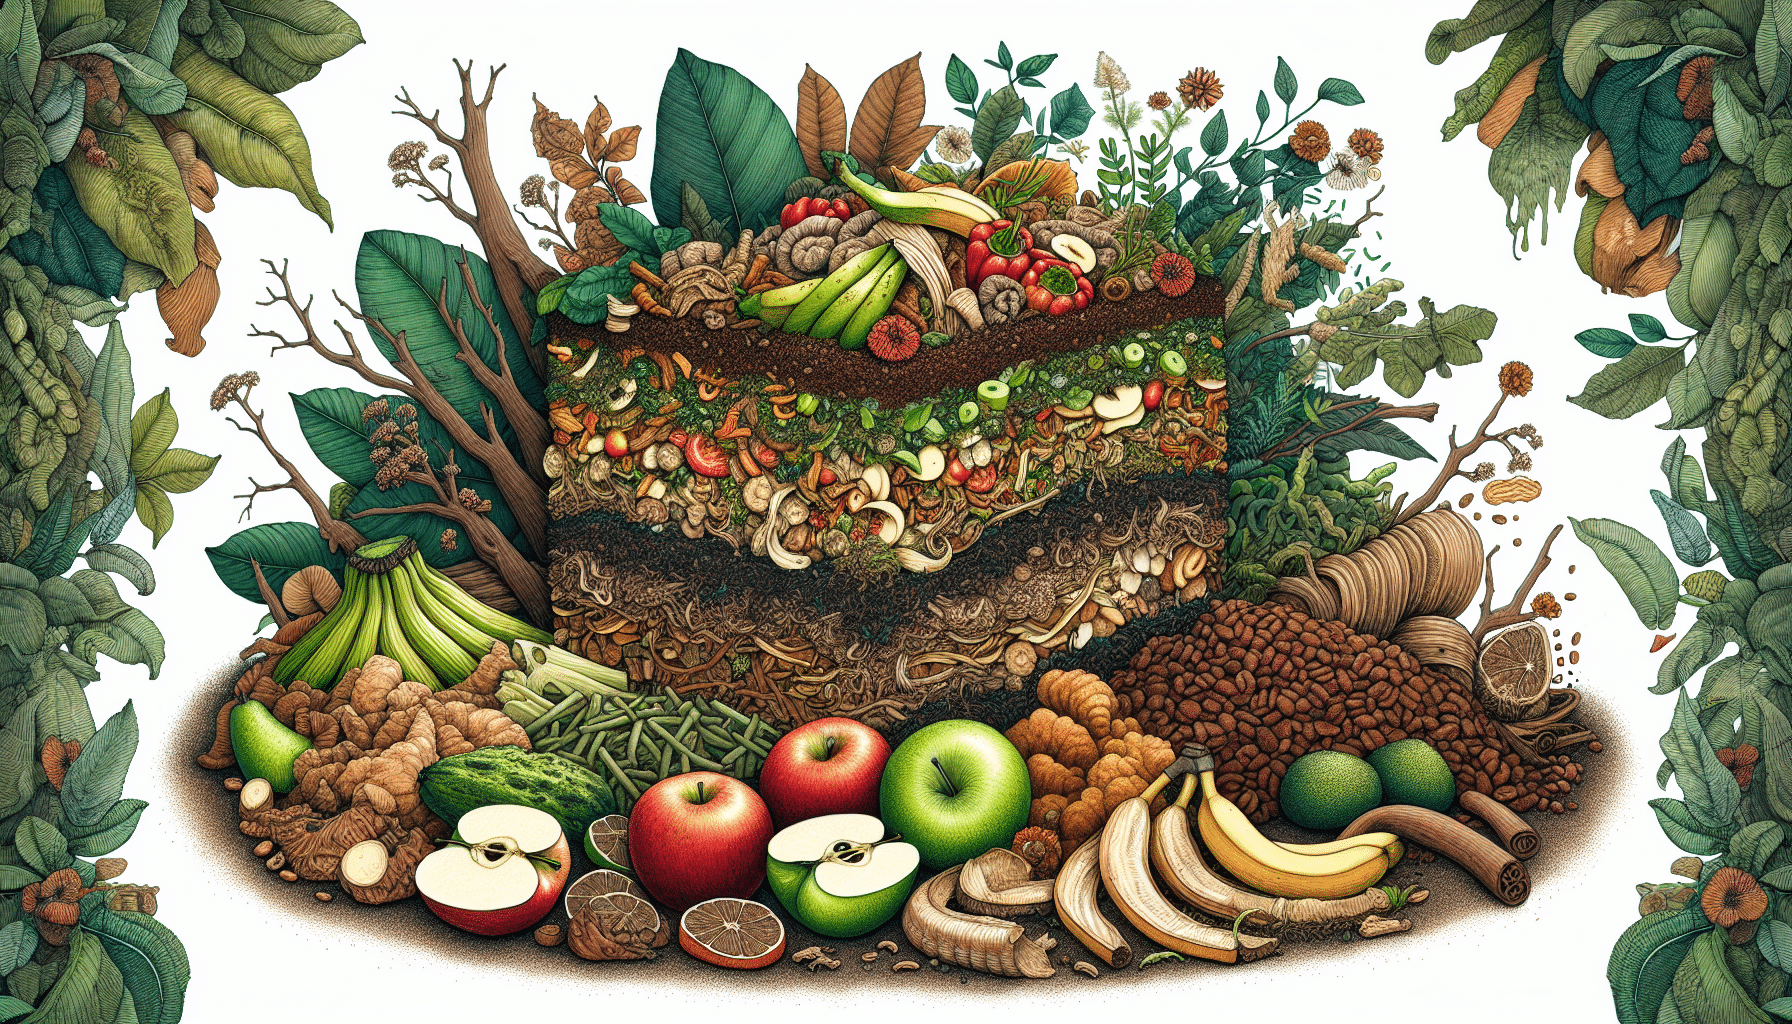
If your old mulch is organic and free from chemical treatments or dyes, such as red mulch, you can give it a new life by turning it into compost. Decomposed organic mulch can be repurposed as compost, enriching your rich soil and contributing to a sustainable gardening practice.
The decomposed mulch can be added directly to compost bins, where it will continue to break down. Adding decomposed mulch to compost fosters a habitat for beneficial organisms in the soil and improves soil structure when used as an amendment.
So, before you consider throwing away your old mulch, think about how last year’s mulch can be recycled to nourish your garden.
Finding Local Mulch Disposal Sites
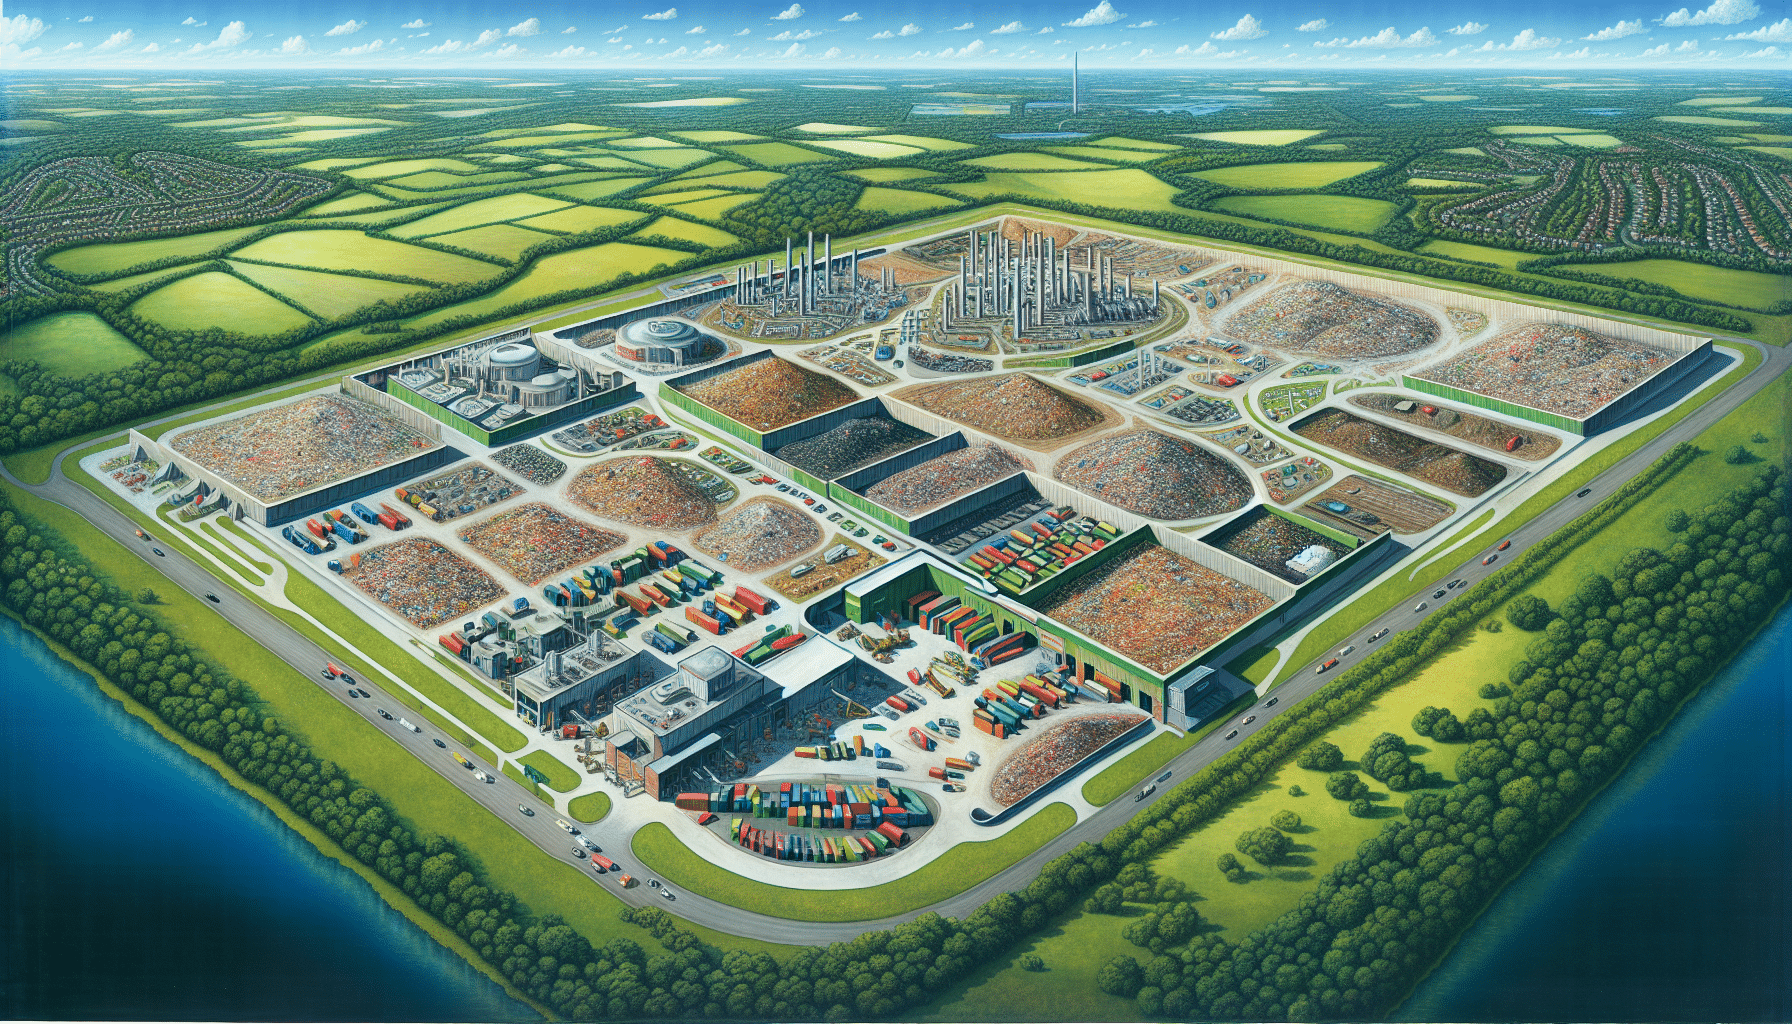
Sometimes, composting is not a feasible option due to lack of space or the presence of dye in the mulch. In such cases, responsible disposal at a waste management facility is the way to go. But how do you find these facilities?
Local waste management facilities can often be found by contacting the municipal office or by checking the local government’s website for information on recycling and disposal services. By responsibly disposing of your old mulch, you’re taking care of your garden and contributing to the well-being of your local environment.
Preparing Your Garden for New Mulch

Once old mulch is removed and properly disposed of, it’s time to prepare your garden for a fresh layer of mulch. This involves several steps, including eliminating organic debris such as leaves, seeds, and sticks from the mulch bed using a rake to clean up and prepare the area. The soil should also be cultivated using a hand cultivator or rototiller to enhance aeration and moisture absorption before mulching.
Once cultivated, smooth out the soil to prevent uneven mulch application. Consider edging the mulch bed with a shovel or power edger for a neat, professional look to create a distinct, clean boundary that enhances your landscape design. By thoroughly preparing your garden, you set the stage for the new mulch to perform at its best.
Soil Enrichment Before Mulching
Before laying down the new mulch, consider enriching your soil to boost your garden’s health further. Incorporating organic material such as compost or herbicide-free grass clippings can significantly increase soil fertility before adding new mulch. A layer of compost or leaf litter beneath new mulch contributes additional nutrients, aiding in moisture retention and weed suppression.
For established gardens, layering compost on top of the soil can gradually improve its quality without tilling. It’s recommended to spread a half-inch to an inch layer of compost around gardens in spring or fall to improve soil structure. Also, before incorporating old wood mulch into the soil, mix it with compost to avoid depleting the nitrogen plants need. With these steps, your soil will be ready to receive the new mulch and provide a fertile ground for your plants.
Laying Down a Weed Block Layer
Weeds can be a gardener’s worst nightmare, competing with your plants for nutrients and water. To keep weeds at bay, it’s advisable to follow these steps:
- Lay down a weed block layer before applying new mulch.
- Before doing this, remove existing weeds by hand or with an herbicide.
- If using herbicide, allow a sufficient lead time of at least two weeks before applying the weed block layer.
Following these steps and planting winter rye can effectively prevent weeds from taking over your garden.
Applying a pre-emergent herbicide is a proactive measure to inhibit the germination and growth of weed seeds beneath the new mulch layer. Alternatively, installing a weed barrier is an effective strategy to physically block weeds from sprouting underneath the new mulch, keeping the garden bed clean and reducing future weeding efforts.
By taking these steps, you can ensure that your new mulch will nourish your plants and keep those pesky weeds under control with more mulch.
Selecting the Right New Mulch for Your Garden
With your garden prepared, it’s time to select the right new mulch. Many choices are available, from organic options like bark or shredded leaves to inorganic mulches like plastic coverings. Each has its own set of benefits and drawbacks. Organic mulches offer soil-enhancing benefits and act as a fertilizer, while inorganic mulches provide durability and aid in long-term weed prevention.
It’s essential to consider the specific needs of your garden when making this choice. For example, for annual and perennial gardens, it’s recommended to use organic mulches such as bark, shredded leaves, or pine needles, which contribute positively to the soil quality and have desirable aesthetic qualities. But how do organic and inorganic mulches compare, and how much mulch should you apply? Let’s delve deeper.
Comparing Organic and Inorganic Mulches
Organic mulches, such as bark or shredded leaves, enhance soil quality by decomposing organic matter but need regular replenishment. On the other hand, inorganic mulches like plastic or gravel offer enduring weed control and moisture conservation, but they can overheat the soil and degrade in appearance over time.
While organic mulches need to be replaced as they decompose, inorganic mulches such as plastic do not decompose, requiring less frequent replacement. However, they reflect heat and may restrict air and water flow. Furthermore, organic mulches such as pine needles and organic material alter soil conditions, improve nutrition, or affect acidity levels, unlike inorganic options that do not contribute to soil nutrition.
Organic mulches typically require a two to three-inch layer for effective application. In contrast, inorganic mulch types, such as river rocks, are usually applied at a depth of about one inch.
How Much Mulch to Apply
Once you’ve chosen the right type of mulch for your garden, the next question is – how much mulch should you apply? Mulch typically needs to be replaced every one to two years, depending on its condition and the type used. The appropriate amount of year’s mulch needed varies based on the size of your garden and the desired mulch depth, often recommended to be between two to four inches.
Remember, mulching is essential for moisture retention in the soil and suppression of weeds. Monitoring and maintaining mulch depth can help extend its benefits for moisture control and weed prevention. So, it’s not just about applying mulch but also about maintaining it to ensure its effectiveness in your garden.
Summary
We’ve traversed the journey of mulch in your garden, from understanding when it’s time to remove old mulch to preparing your garden for a new layer and choosing the right type of mulch to know how much to apply. Mulch is a vital garden component, providing numerous benefits such as soil protection, moisture retention, weed suppression, and aesthetic appeal. However, like everything else in life, mulch has a lifecycle, and knowing when to replace it is crucial to maintaining the health and beauty of your garden.
Proper mulch management involves regular assessment, careful removal, responsible disposal, and thoughtful replacement. Whether you’re an amateur gardener or a seasoned green thumb, understanding these aspects of mulch management can make a significant difference in your gardening experience. So, the next time you look at your garden, remember that the unsung hero of gardening lies beneath those beautiful plants and flowers – mulch. Treat it well; it will return the favor with lush, vibrant plants and a thriving garden.
Frequently Asked Questions
How do I know if it’s time to remove my old mulch?
You should remove old mulch if it shows signs of decomposition, such as breaking it down into particles that blend with the soil, contamination like fungal growth, and if the mulch layer is thinning or faded in color.
What tools do I need for efficient mulch removal?
To efficiently remove mulch, you will need tools like leaf rakes, wheelbarrows, tarps, and bedding forks, which can simplify the process. These tools will help you streamline the mulch removal process.
How can I dispose of old mulch responsibly?
You can compost old mulch if it’s organic and chemical-free or dispose of it at a local waste management facility if composting isn’t an option. It’s important to ensure the mulch is free from chemical treatments or dyes before composting or disposing of it.
How should I prepare my garden for new mulch?
Prepare your garden for new mulch by removing organic debris, cultivating the soil for aeration and moisture absorption, and edging the mulch bed for a neat and professional appearance. This will help ensure a healthy and visually appealing garden.
How much mulch should I apply to my garden?
You should apply two to four inches of mulch to your garden, depending on its size and desired depth. Regular monitoring and maintenance of the mulch depth is essential for its effectiveness.
