This guide demystifies the process of creating a do-it-yourself compost pile. We’ll navigate the basics from choosing a spot to understanding the mix of green and brown organic materials, ensuring your compost journeys from scraps to soil enhancer with ease.
Key Takeaways
- You can create a thriving compost pile with the right mix of organic materials, good location selection, proper sizing, and essential tools.
- DIY compost bins can be made from various materials like pallets, wire, or barrels, and can range from simple structures to tumbler-style bins for easier aeration.
- Successful composting involves correct layering of green and brown organic materials, maintaining the right moisture level, and regularly turning the pile to promote even decomposition.
Essentials for a DIY Compost Pile

Embarking on the composting adventure begins with understanding the core components of a DIY compost pile. At its heart lies a blend of organic materials, a combination of air and moisture, and a balance of carbon and nitrogen. This concoction of food waste and vegetation formulates an ecosystem where microorganisms feast and transform waste into nourishment for your garden.
The process is relatively simple. To begin, you just need the right mix of ingredients and some patience. With just a bit of guidance and elbow grease, you can start a compost pile that will eventually yield rich results.
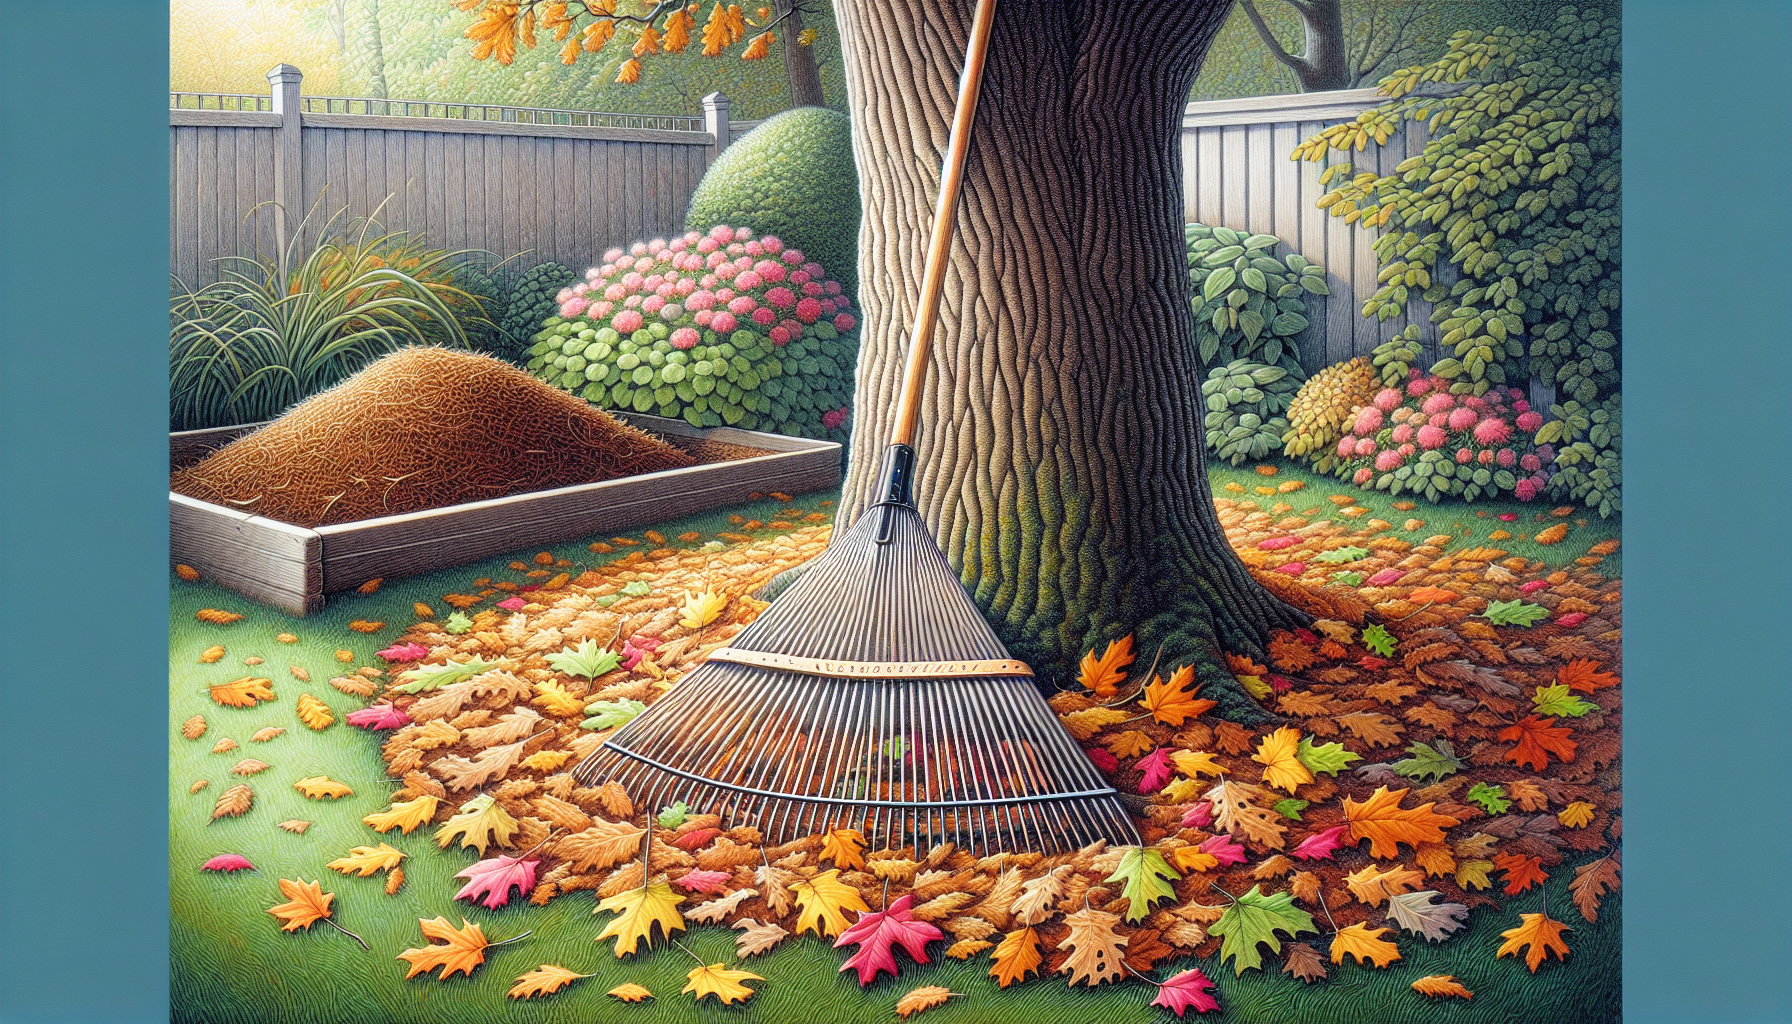
Location Selection
When selecting an ideal spot for your compost pile, you want to ensure the location offers good drainage on an elevated slope. This ensures that excess water drains away, preventing your pile from becoming a soggy mess. It’s also wise to steer clear of high water tables to avoid the risk of flooding and the unwanted drama of contaminating local water resources. It is also important to position your compost bin in an area that receives a great deal of sunlight.
Size and Shape
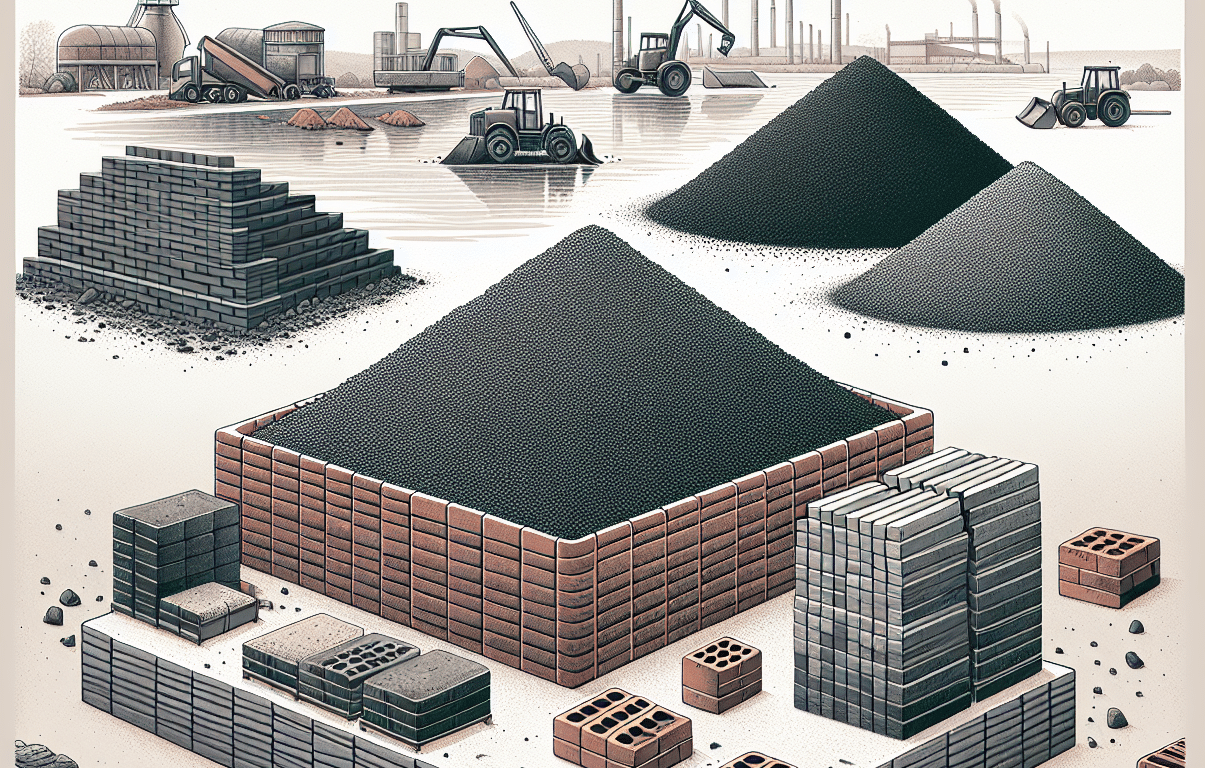
The size and shape of your compost pile are critical in reaching temperatures that encourage rapid decomposition and effective composting. Imagine a cozy home for microbes where the heart of the pile heats up to break down organic matter swiftly. The minimum size for a hot composting system is 4 feet by 4 feet, a size which helps sustain the microbial activity necessary for turning your scraps into gold.
A larger compost pile can handle more materials, meaning more finished compost for your garden. The key is to maintain the proportions that allow for proper heat retention and airflow, ensuring your pile doesn’t turn into an undercooked casserole of organic materials.
Tools and Materials
Some of the proper tools for your composting project include a bucket or compost pail to collect those valuable kitchen scraps and other compostable materials. Gloves are also essential to keep your hands safe while you are working on your compost project. Some essential tools for a proper composting setup include a garden hose, wheelbarrow, a compost thermometer, and a compost sifter.
Building Your Own Compost Bin
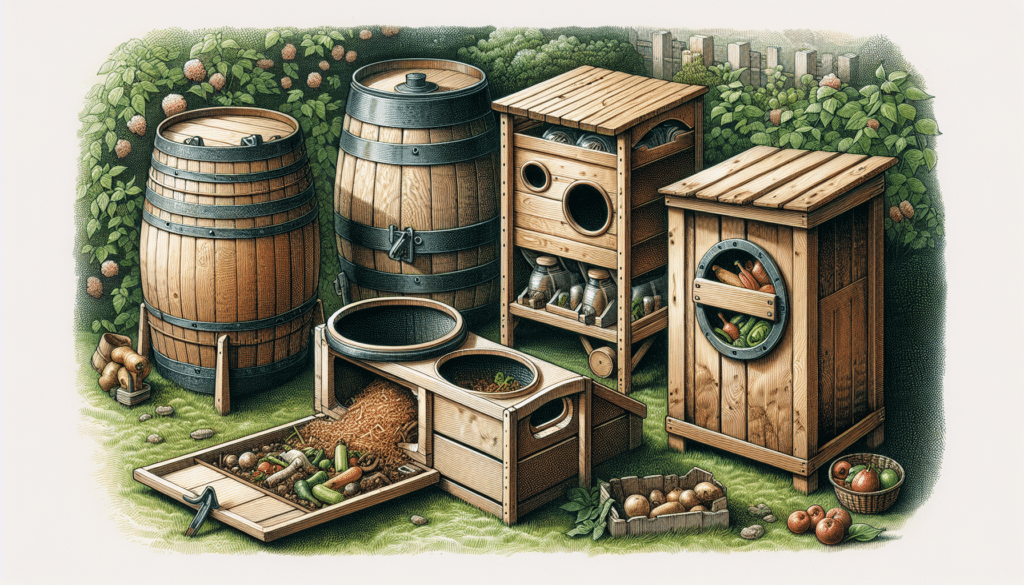
Your DIY container will house the transformation of everyday waste into usable compost. Whether you’re a novice or a seasoned DIYer, constructing a compost bin is a task that ranges from the simple to the intricate. The materials you choose can include pallets, wire fencing, old barrels, and buckets. Each of these tools brings its unique flair to the composting process.
Repurposed Materials
Using repurposed materials to construct your bin not only saves money but also reduces waste, aligning perfectly with the eco-friendly nature of composting itself. Pallets, for example, can be stood upright and secured at the corners to form a sturdy, breathable box. Wire fencing can also be molded into a compost-friendly cylinder, offering excellent air circulation, which is paramount for efficient decomposition.
Simple Wooden Frame
Building a simple wooden frame for you compost bin can be accomplished in a few simple steps:
- Select untreated, durable wood like cedar or redwood to ensure longevity and safety for your compost.
- Construct the frame with corner brackets to keep it square and stable.
- Attach hardware cloth to the inside to promote aeration while keeping unwanted critters out.
Screw the boards together to form a shape that accommodates your space and composting needs, be it a cube or a rectangle. For added convenience, install a door with hinges on one side of the frame. This will make it easier to add new materials and harvest your finished compost, ensuring your bin is both functional and user-friendly.
Tumbler-Style Compost Bin
A tumbler-style compost bin creates a streamlined composting experience. These bins use drums or similar containers to save space and make aeration as easy as turning a handle. By inserting a perforated tube in the barrel, you ensure essential oxygen reaches the decomposing material, promoting effective composting with minimal effort.
Tumblers are perfect for gardeners with limited space or those who prefer a tidier approach to composting. They can be rotated to mix the contents, helping the compost to break down evenly and faster than static piles.
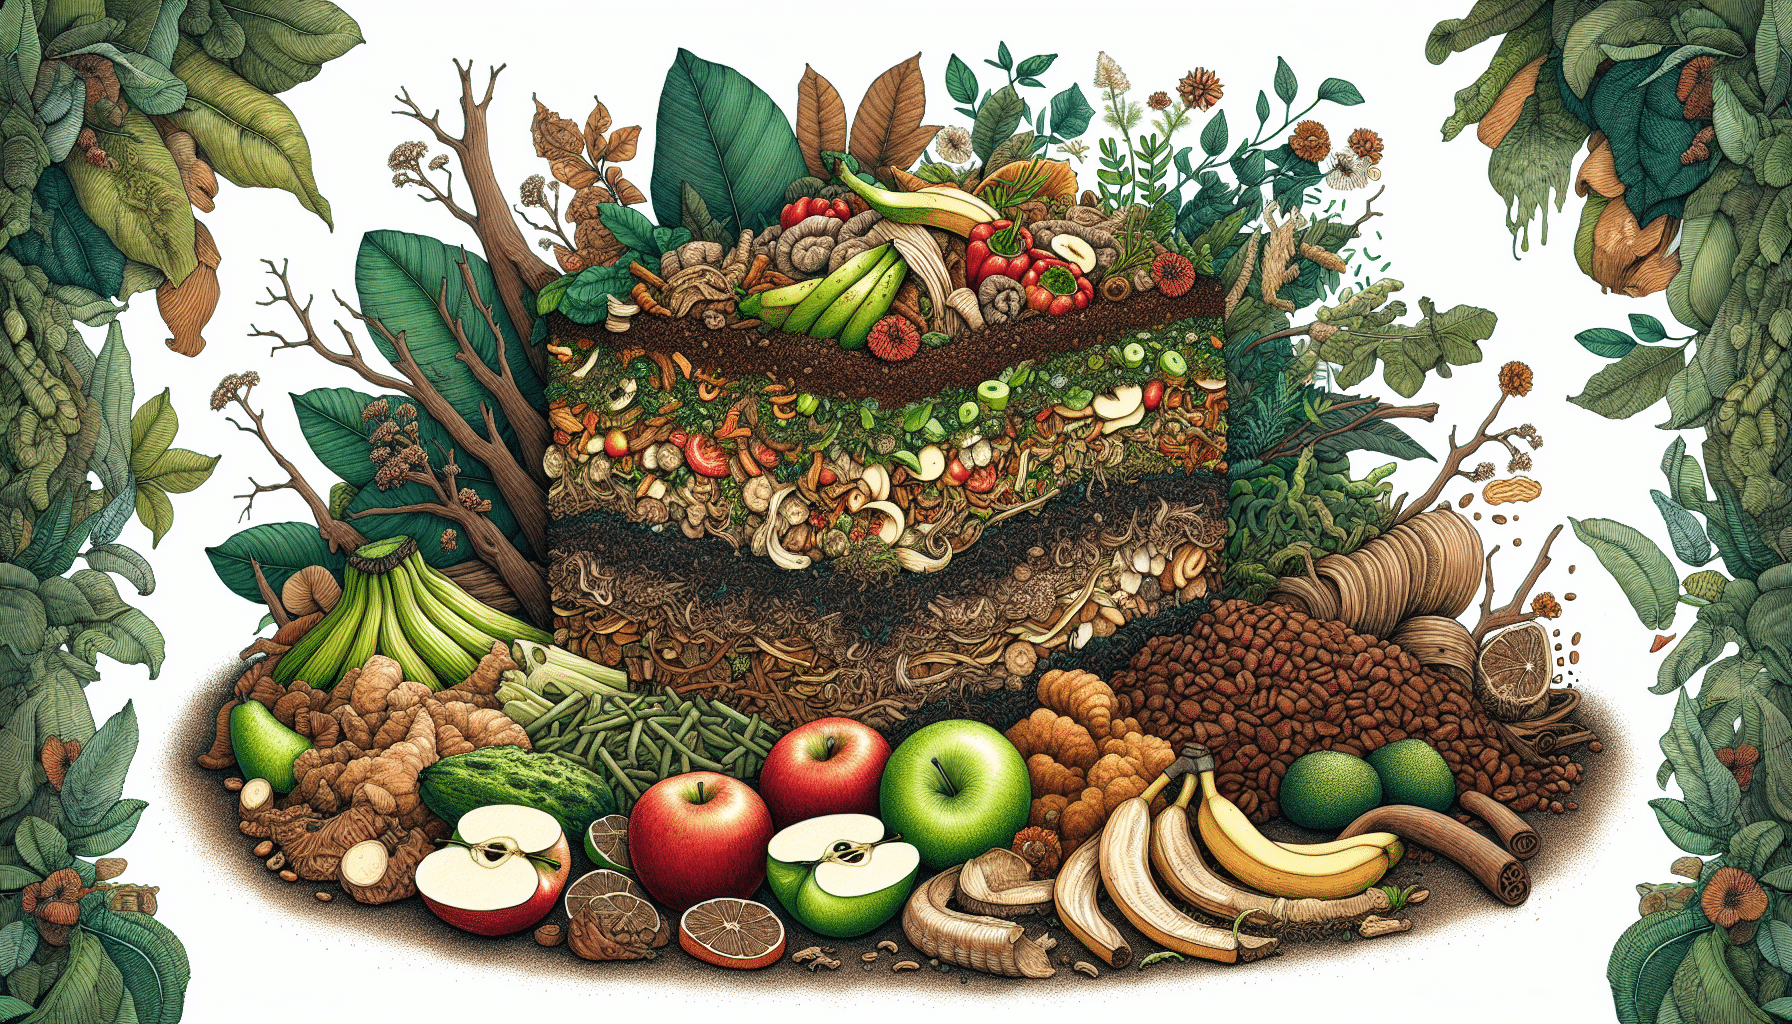
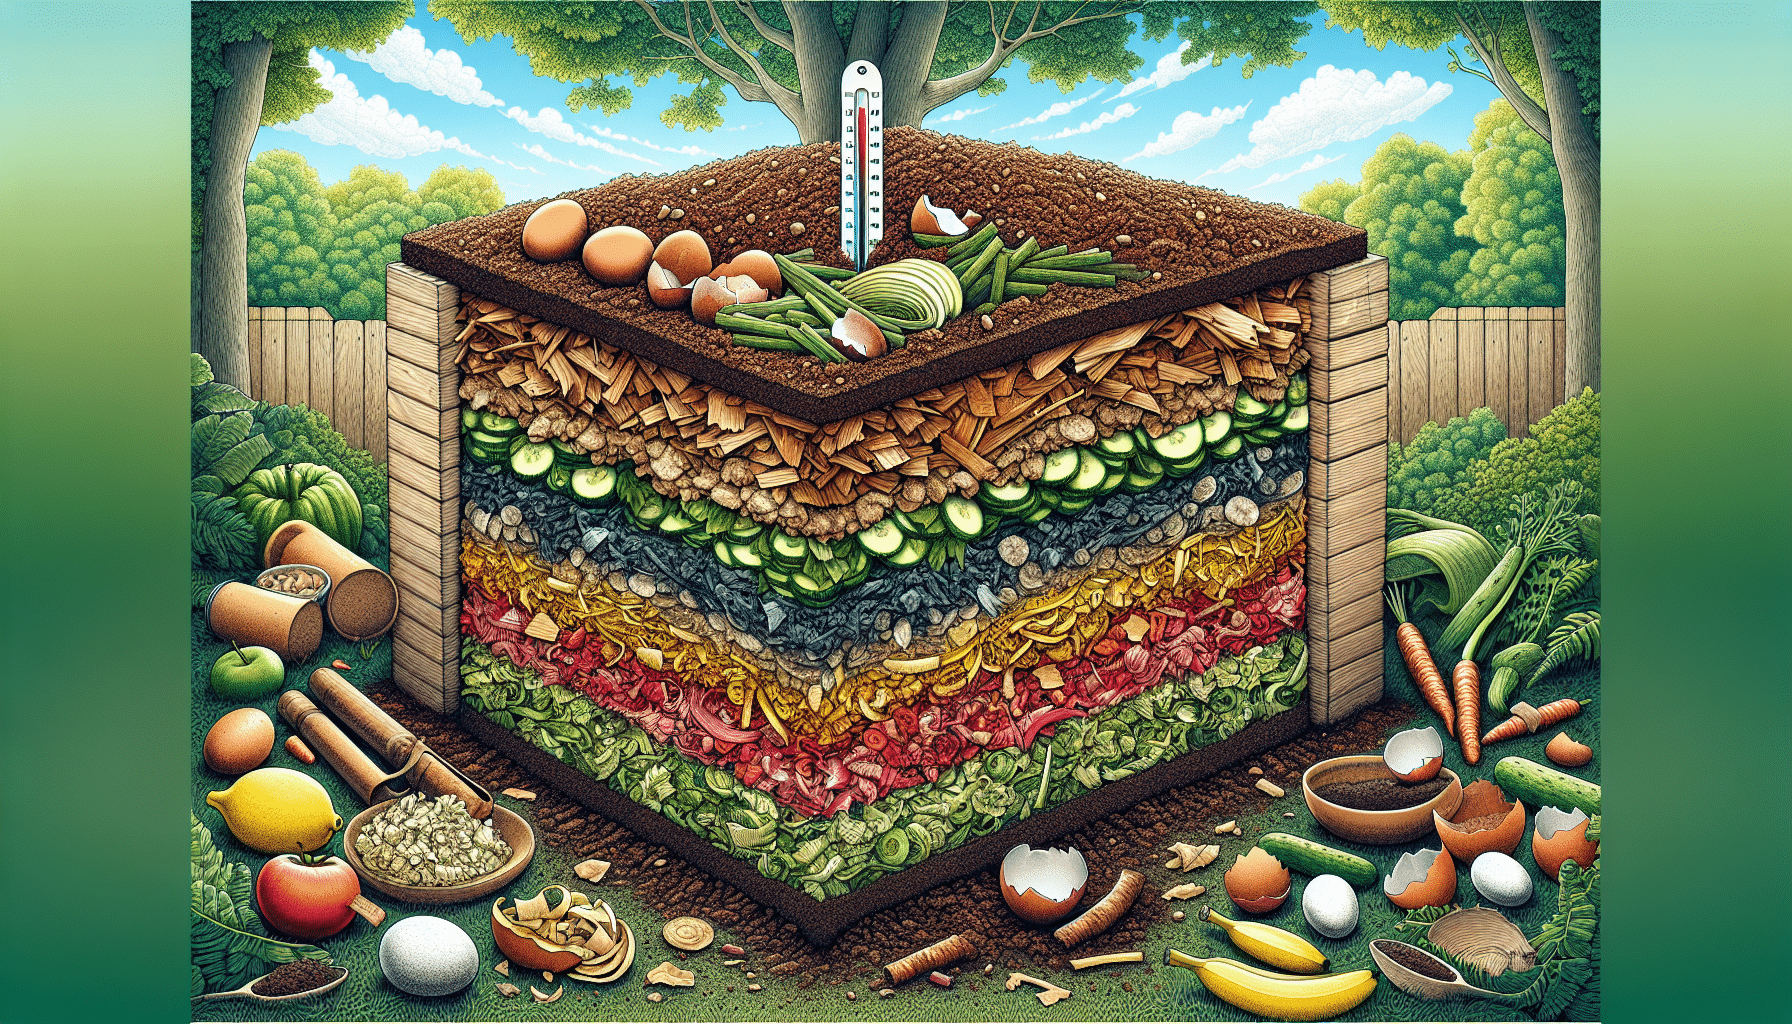
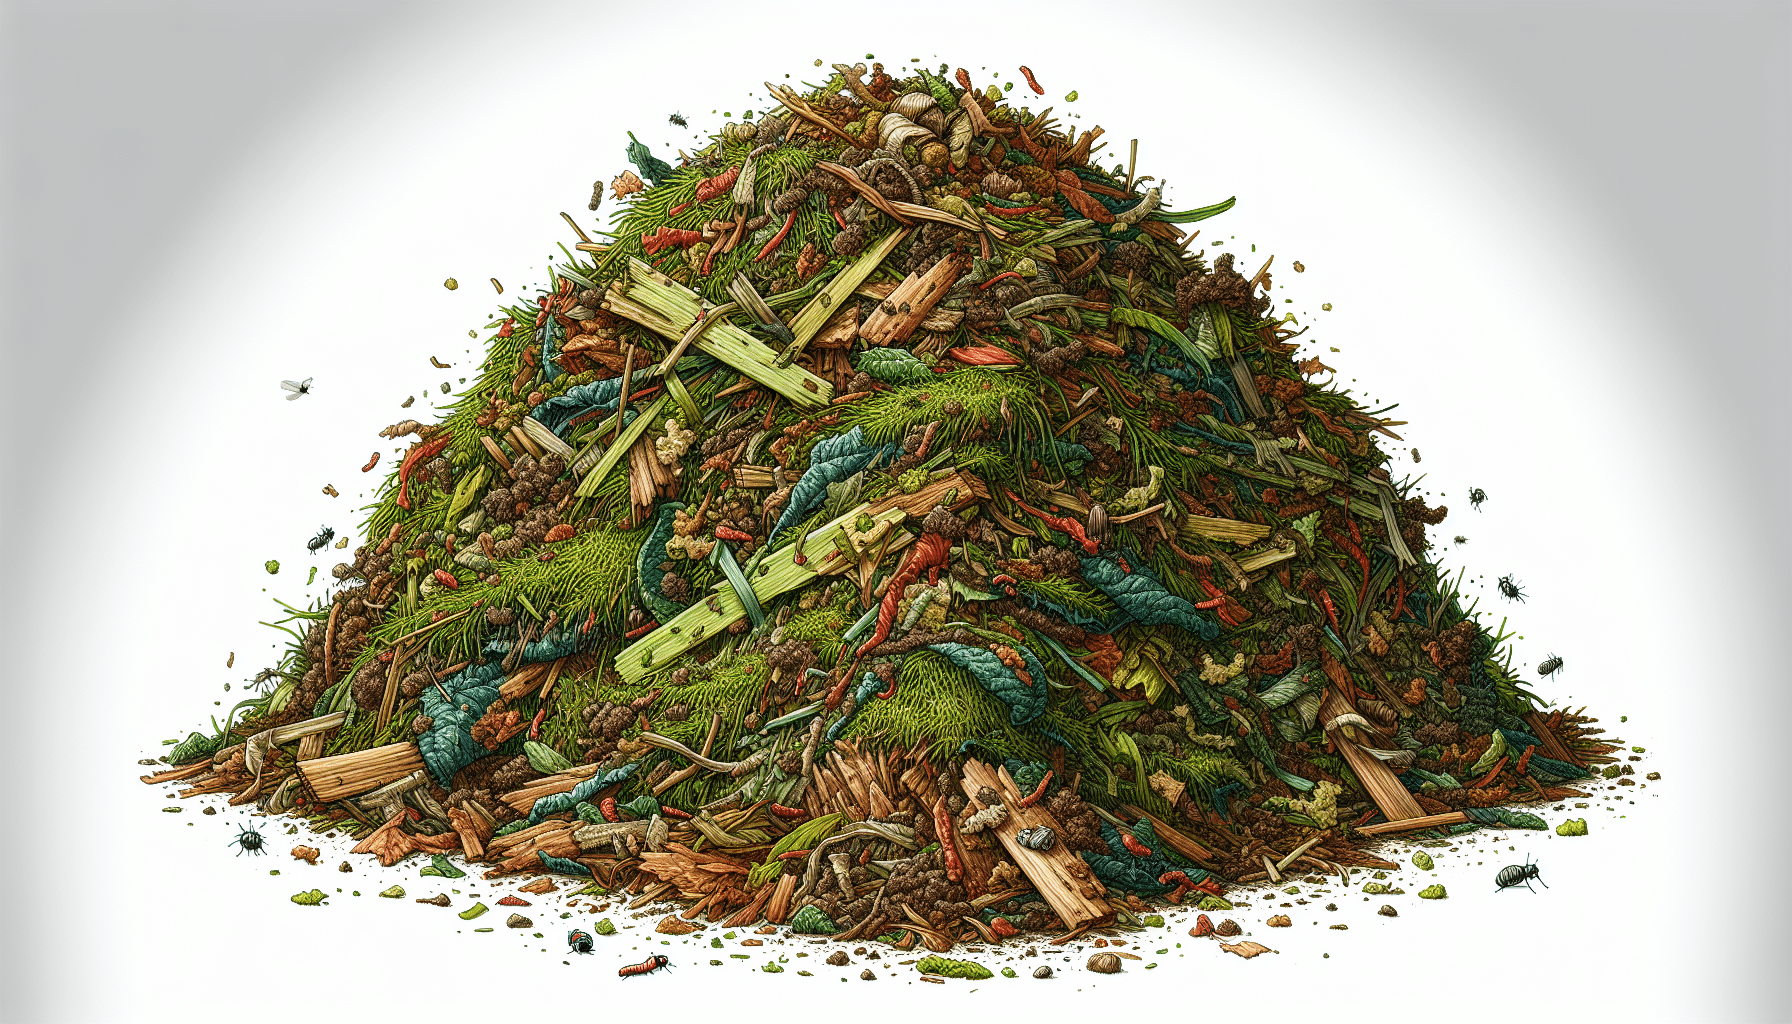
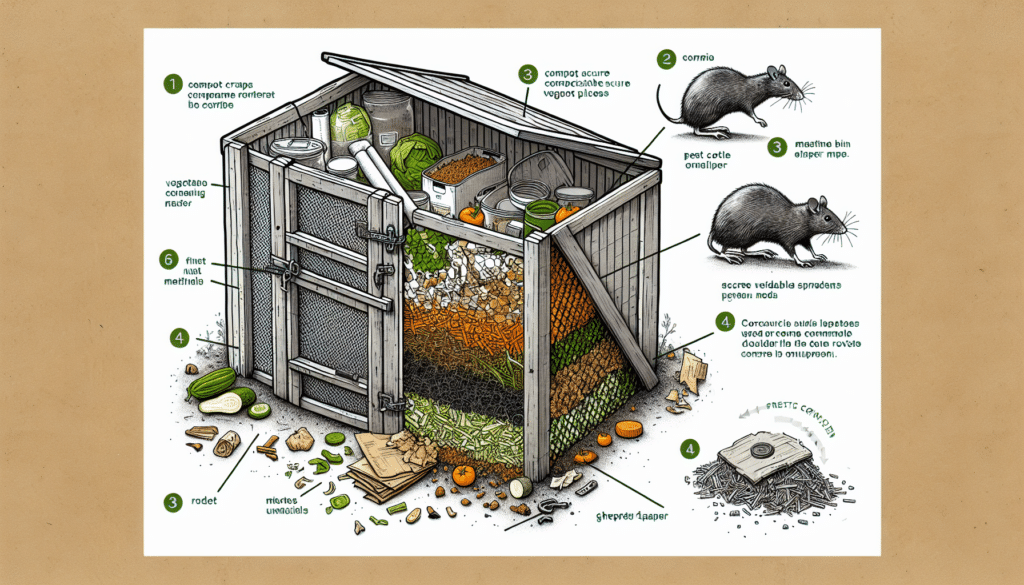
Layering Your Compost Pile

The secret to a successful compost pile lies in the art of layering. Each layer of organic waste offers a vital role in the decomposition process. Layering begins with a base of leaves or newspapers, followed by a sprinkle of soil, and repeats until your bin reaches the halfway mark. The goal is to create a balanced mix of green (nitrogen-rich) and brown (carbon-rich) materials, ensuring optimal moisture and air flow throughout the pile. With proper maintenance your compost pile will transform into the finished product in about three months’ time.
Brown and Green Ratios
Discovering the correct ratio for brown and green materials makes all the difference. Composters should aim for three to four parts browns to one part greens to prevent your pile from becoming soggy. Browns, rich in carbon, feed the soil organisms and help maintain structure for airflow, while greens, rich in nitrogen, provide essential nutrients and moisture.
Common brown materials include fall leaves, straw, and paper products. Greens, such as fruit and vegetable peels and coffee grounds, are the moisture-rich, nutrient-dense catalysts of decomposition. A small addition of wood chips, another type of brown material, can enhance aeration and manage moisture levels. By incorporating green materials like these, you can create a well-balanced compost pile.
Adding Kitchen Waste
Kitchen waste can be a valuable addition to your compost pile. Greens such as grass clippings, vegetable and fruit scraps, and coffee grounds add valuable nitrogen to the pile. To prevent attracting pests and creating odors, it’s crucial to layer kitchen waste with brown materials. This practice ensures that your compost pile remains an asset rather than a nuisance in your backyard. By layering correctly, you encourage efficient decomposition while maintaining a tidy and odor-free composting operation.
Turning and Aeration
Aeration is the breath of life for your compost pile. Regular turning ensures that the material at the edges is brought to the center, heated up, and decomposed evenly. You can aerate your pile by poking holes with a piece of rebar or automated blowers.
Frequent turning introduces the necessary oxygen for decomposition, with every three to four days being ideal for active piles. If you notice a slowdown in microbial activity, you can reduce the turning frequency.
Alternative Composting Methods
As you become more versed in the ways of composting, you might find yourself curious about alternative methods that can suit different situations and preferences. Vermicomposting, bokashi fermentation, and sheet composting are just a few of the avenues you can explore. Whether you’re limited by space, looking for a quicker process, or prefer a more passive approach, there’s a composting method out there for you.
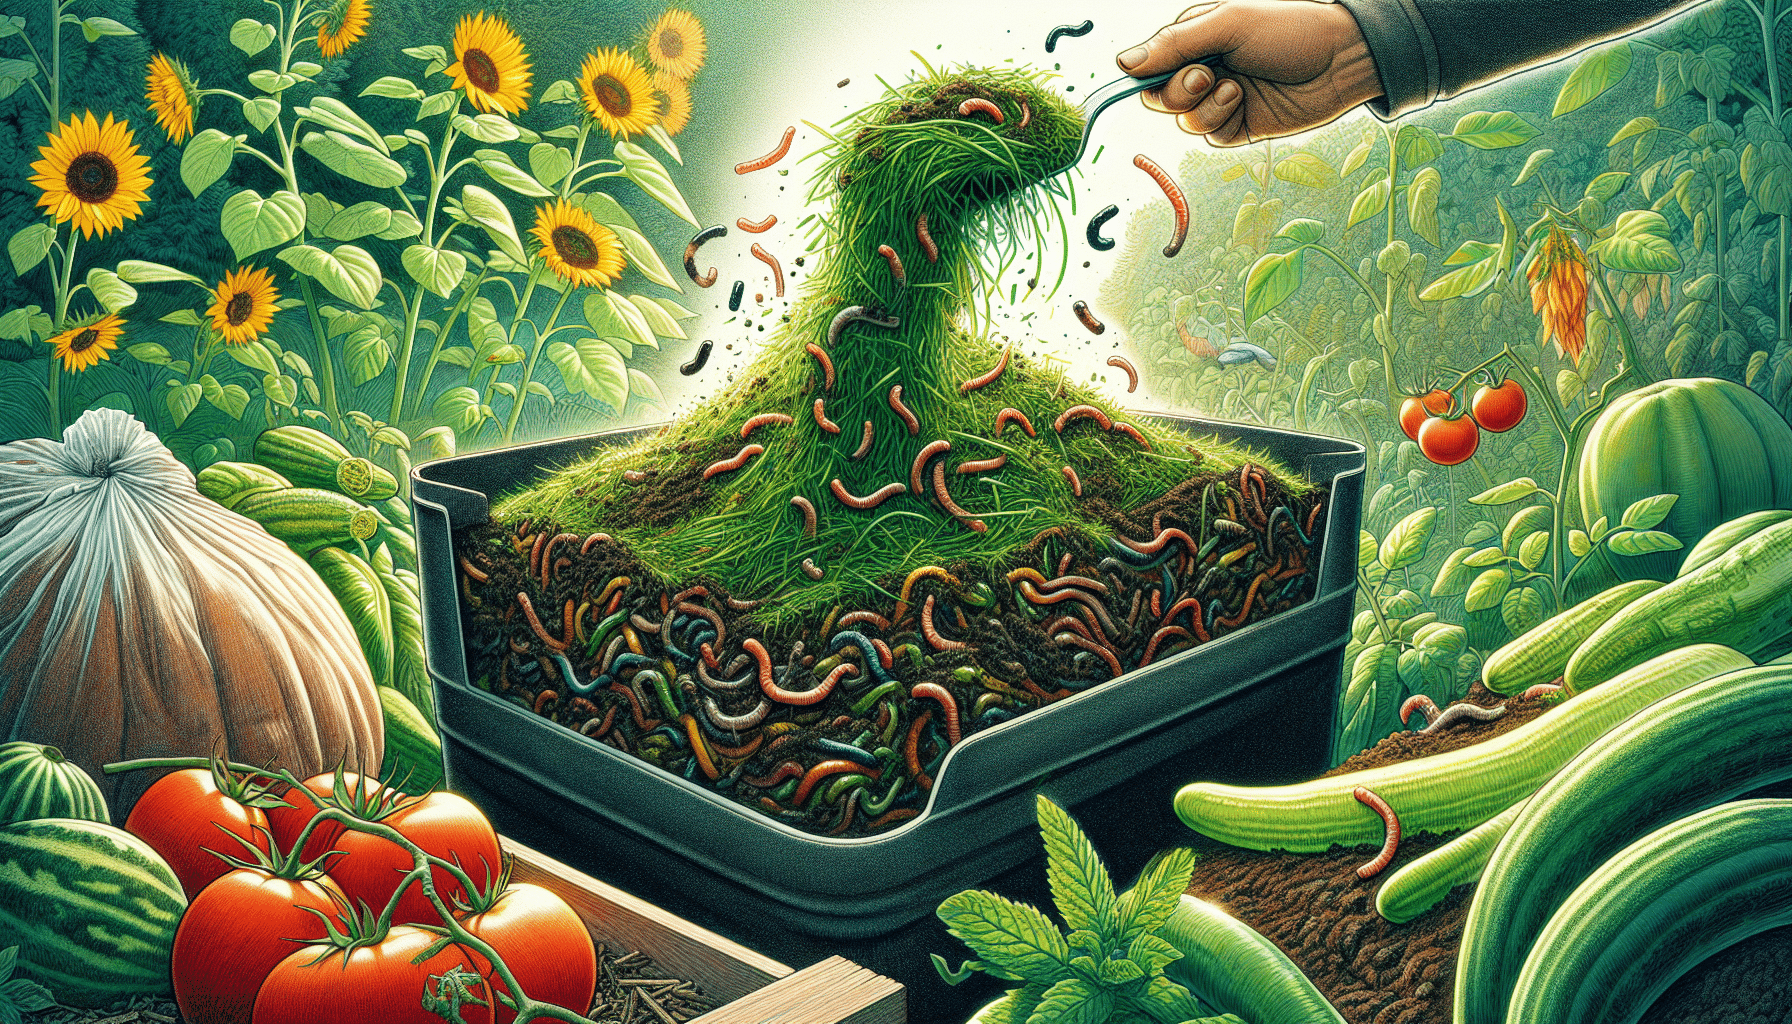
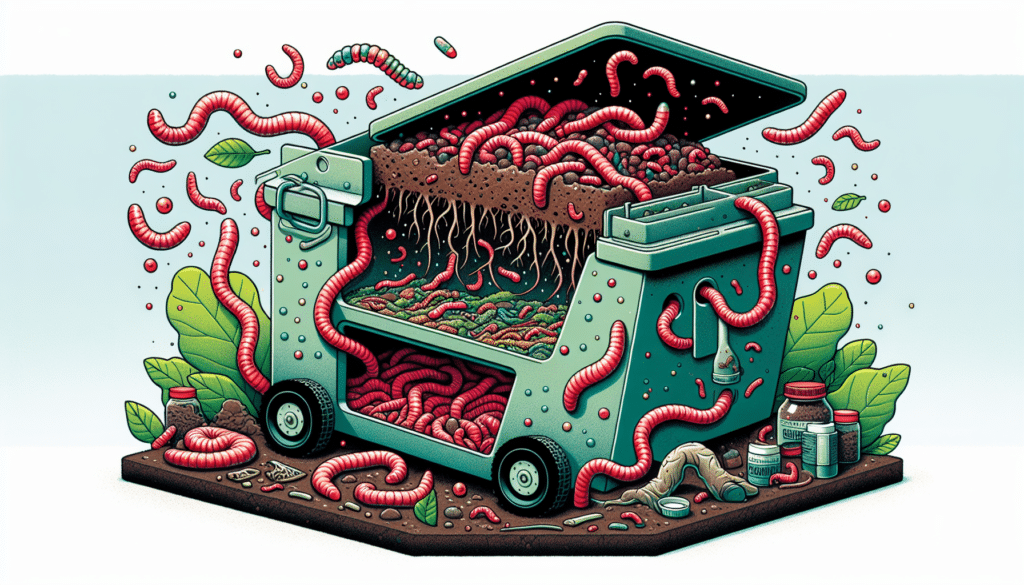
Vermicomposting
Vermicomposting is the art of employing red wiggler worms to break down organic materials in a specialized worm bin. It’s an ideal solution for those with limited outdoor space or who wish to compost indoors. You can set up a worm bin on a budget using simple items like buckets, a drill, and some soil to get started with your ‘golden dirt’. Worm bins can also be created from repurposed items such as plastic storage containers or even old furniture, adding a unique and sustainable touch to your composting efforts. Red wigglers are the preferred species for this method, efficiently converting kitchen scraps and certain animal manures into nutrient-rich soil, perfect for enriching your houseplants or garden.
Bokashi Fermentation
Bokashi fermentation is a standout method for those eager to see quick results. This process uses beneficial microorganisms to ferment food waste in a closed system, producing compost in a fraction of the time it takes traditional methods. Unlike traditional composting, which requires turning and can take several months, bokashi can transform your scraps into a soil amendment in just a few weeks.
The bokashi method is particularly appealing if you’re short on space or want to avoid the more hands-on aspects of traditional composting. The closed system design keeps odors contained, making it suitable for indoor use.
Sheet Composting
Sheet composting is a laid-back approach to composting, requiring less structure and offering a hands-off approach. This method is akin to creating a blanket of compostable materials directly on your soil. It’s a straightforward technique where materials such as vegetable scraps, leaves, grass clippings, coffee grounds, shredded paper, or pine needles are spread over a garden plot or mixed into the top few inches of soil, enriching it over time.
For those without a compost bin or who prefer a more natural process, the dig-and-drop method of sheet composting is a perfect alternative. Simply dig a hole, deposit your organic materials, and cover them with soil. This can be done throughout your garden, allowing nature to do the composting for you, with the added benefit of reducing labor and equipment needs.
Troubleshooting Common Compost Issues
Even the most meticulously maintained compost pile can encounter issues from time to time. Whether it’s unpleasant odors, persistent pests, or moisture mismanagement, these common problems can disrupt the harmony of your composting efforts. Understanding the potential pitfalls and how to address them is crucial in maintaining a successful compost pile. This section will delve into strategies for managing odors, deterring pests, and ensuring your pile has the right moisture content. With these tools in your belt, you can confidently face any composting challenge that comes your way.
Odor Management
Unpleasant odors in your compost are typically a sign of excess moisture or poor oxygen levels within the pile. To combat this, ensure your pile is in a location shielded from strong winds and consider adding a buffer, such as a hedge, to help contain and dissipate any odors.
Reestablishing proper aeration and absorption is key to eliminating bad smells. This might involve turning the pile more frequently to introduce air and adding dry materials such as straw or leaves to soak up excess moisture. By managing these elements, you can maintain a less odorous compost pile.
Pest Control
The first line of defense against pests in your compost pile is to be selective about what goes into your pile. Avoid adding dairy, meat, bones, and pet waste as these can attract rodents and other wildlife, posing a risk of pathogen introduction. To further secure your bin against these critters, consider placing wire mesh or hardware cloth underneath to prevent burrowing and access.
Maintaining Proper Moisture Levels
If you live in an area with heavy rainfall, consider implementing drainage solutions like berms or ditches to prevent waterlogging in your compost. Conversely, during dry spells, it’s essential to add water to the pile, ensuring it remains as moist as a wrung-out sponge, neither dry and crunchy nor overly slimy. To manage moisture levels, cover your pile with a tarp to conserve water and turn it more frequently to offset reduced oxygen levels from the covering. A bed of bulking materials can help with leachate management, while building your heap on a base of sticks and stones can improve airflow and drainage from the start.
Summary
As we conclude this comprehensive guide, you now have the knowledge to embark on your composting journey with confidence. From selecting the perfect spot and building a bin that suits your needs to mastering the art of layering and troubleshooting common issues, you’re well-equipped to transform your organic waste into a valuable resource for your garden. Composting is an enriching practice that benefits both the environment and your green space, turning what was once considered waste into nutrient-rich soil.
Frequently Asked Questions
Can I add any kitchen waste to my compost pile?
Yes, you can add most kitchen waste to your compost pile, but avoid adding dairy, meat, and bones since they can attract pests and harbor pathogens. Stick to fruit and vegetable scraps, coffee grounds, and eggshells for best results.
How often should I turn my compost pile?
To ensure even decomposition and microbial activity, aim to turn your compost pile every three to four days. Adjust the frequency based on the speed of microbial activity.
What materials are considered ‘browns’ and ‘greens’ in composting?
In composting, materials like fall leaves, straw, and paper products are considered “browns,” while fruit and vegetable peels, grass clippings, and coffee grounds are categorized as “greens.” Mix these in your compost to balance the carbon and nitrogen levels effectively.
How can I keep my compost pile from smelling bad?
To prevent your compost pile from smelling bad, balance greens and browns, turn the pile for aeration, and manage moisture by adding dry materials if it’s too wet.
Is it possible to compost if I live in an apartment?
Absolutely! You can definitely compost in your apartment using vermicomposting with red wiggler worms in a specialized bin. It’s a great way to break down organic waste indoors with minimal space.